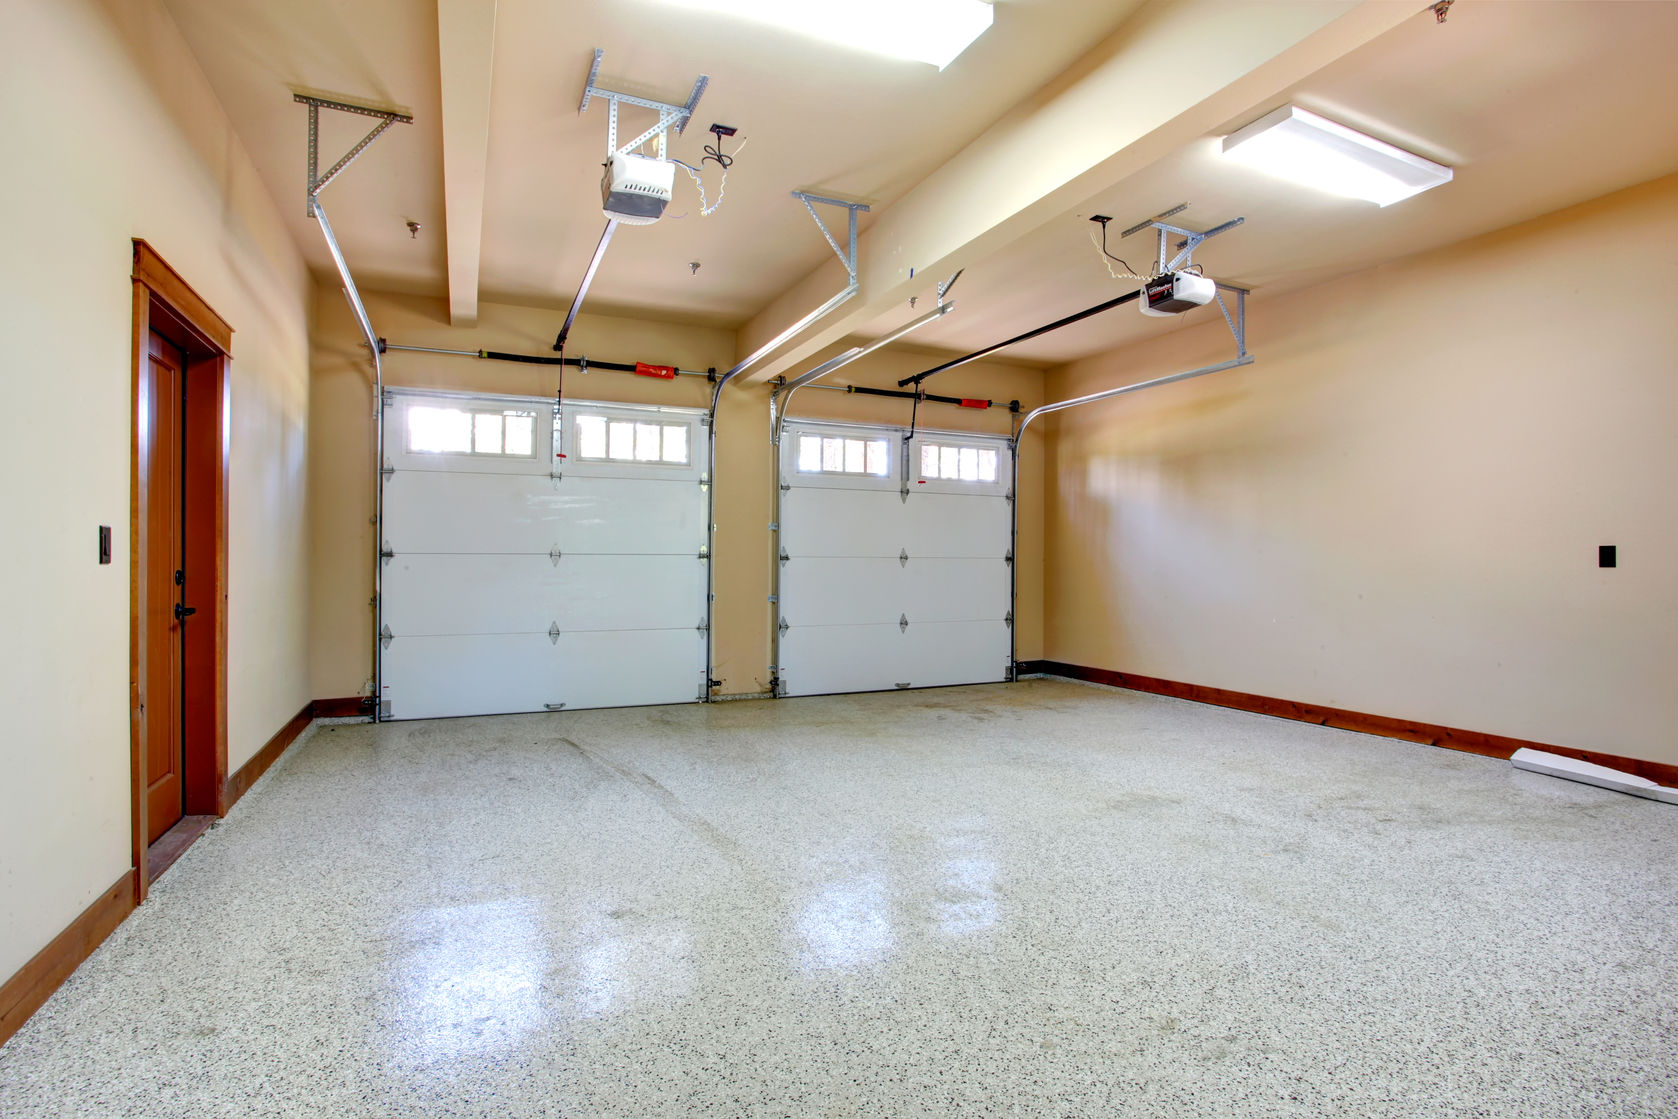
Garage door springs operate under high tension that enables them to lift the weighty door. Due to frequent use of the door, they break or loose tension after a period of time. In this case, they need to be replaced for the door to function adequately. There are doors that require extension springs while others use torsion springs. A good example is the overhead doors that use torsion springs that are normally fixed on the central bracket located in the middle of the door. If you choose to use the DIY method to replace the springs, it is important to beware of the risk involved as a slight mistake may lead to snapping of the spring causing injuries.
DIY garage door springs replacement process
Before starting the installation process, it is important to ensure that you have someone else to help you and observe all the safety measures. Read the instructions provided by the manufacturer to deeply understand the process. In case of doubts, consult a technician for professional assistance.
-
Assemble the tools
Ensure that you have all the tools required that include:
- Wrench
- Ladder
- Bolts
- Chalk
- Winding bars
- New springs
- Unplug the power
The first step in spring replacement is closing the door by unplugging the power cord to the opener. Also, you can unplug the power by disconnecting the circuit breaker or remove the fuse. Once the power is off, disconnect the opener.
-
Compare the spring size
Before you remove the old springs, measure their size and compare with the size of the new ones. Here, take the measurement in length and diameter. Use chalk to mark the area occupied by the spring cone using a chalk.
-
Unwind the old spring
Insert the winding bar into the winding cone holes to unwind the spring in order to release the tension. Make sure that the winding bar is not less than 18 inches and can fit well in the winding cone. Note that unwinding the springs can be dangerous hence need to be cautious. To ensure that there is no tension, pull down the winding bar and insert the second bar into the other hole. Repeat the process over and over till all the tension is removed.
-
Remove the bolts and screws
At the end of the door, are the cable drums from which you are to loosen the sets screws. Once you have removed the drums, slide the springs from the bar.
-
Insert the new spring
When inserting the spring, place in the stationary side and that with the wider hole. Fix the cable drum and repeat the same process to fix the second spring.
-
Tighten the shaft and the bolts
Once the springs are in place, twist the bar present on the door to tighten the shaft of the door. Ensure that the stationary end of the spring is well fixed to the center of the door and fasten the bolts.
-
Wind the spring
Use the bar to add tension to the spring using the wrench. Observe safety as the spring can snap and cause injuries to your body. Remember that DIY spring replacement is highly discouraged so contact a professional.

